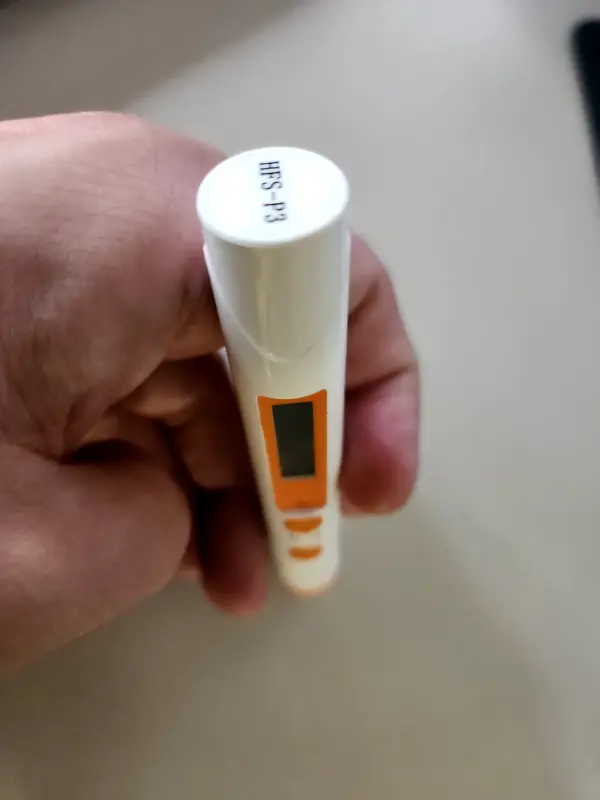
How To Set The HFS-P3 Alarm
The HFS-P3 Dosimeter has a built-in dose and dose rate alarm for radiation. The values for the alarm can be changed.

Instructions
1. Turn on the device
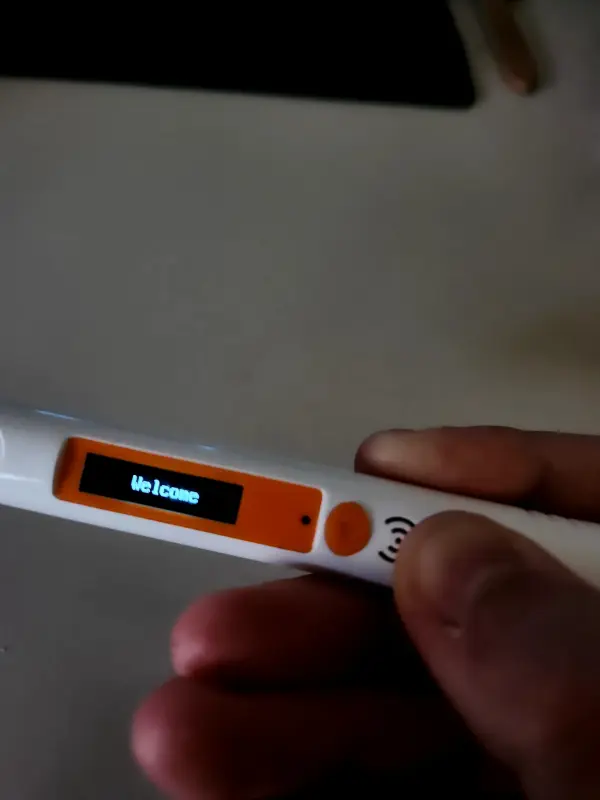
First, we will turn the device on by holding the "power button" (⏻) until the screen turns on.

2. Unlock device
Right after turning on, the device will show the current live dose rate and will be locked (note the padlock (🔒) icon next to the battery meter). This prevents alarm values from being changed. In order to unlock the device, we will hold both buttons down for a few seconds until the padlock icon(🔒) disappears.
3. Navigate to alarm settings
In order to do this we will press the "menu button" (▼) until we get to the "Dose rate alarm" setting.

4. Set alarm value
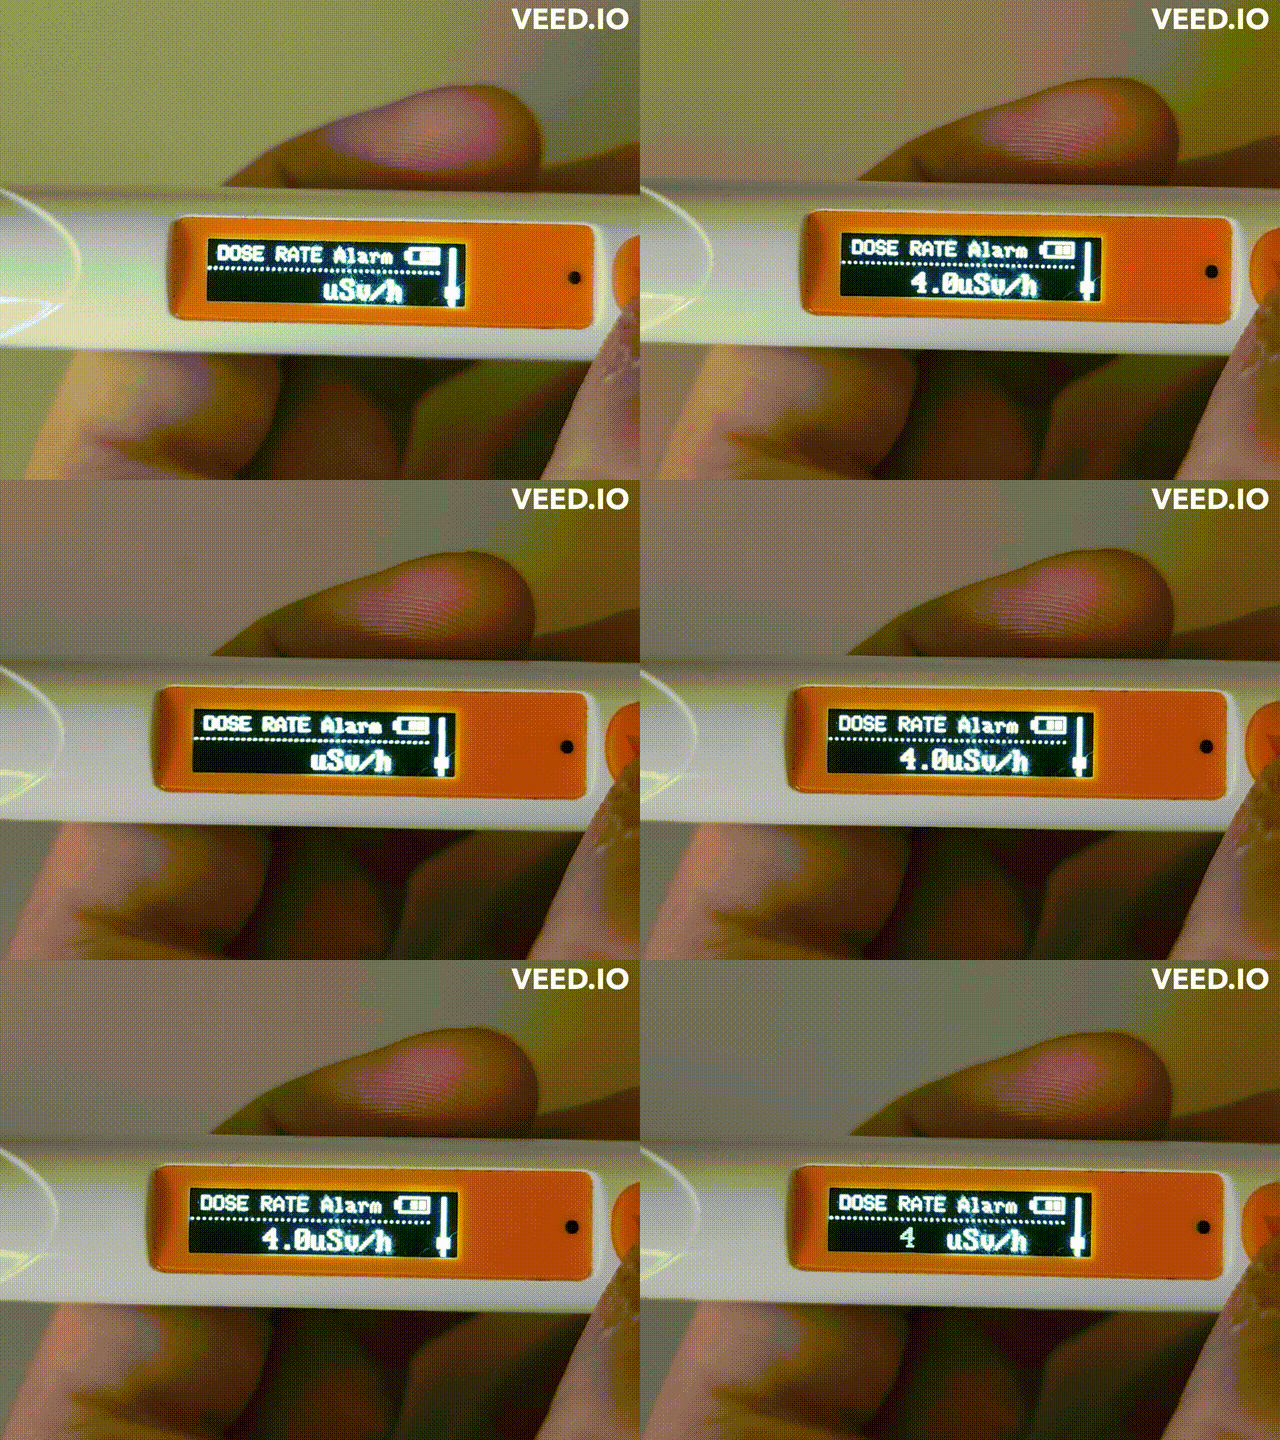
On the "Dose rate alarm" setting, we will tap the "power button" (⏻). This will cause the value to flash indication, we can now change it.
To change it, we will press the menu button" (▼) and it will cycle through available values between 0.6-300µSv.
Then we will set it by tapping the "power button" (⏻) again.
The value should have stopped flashing.
5. Set Dose Alarm

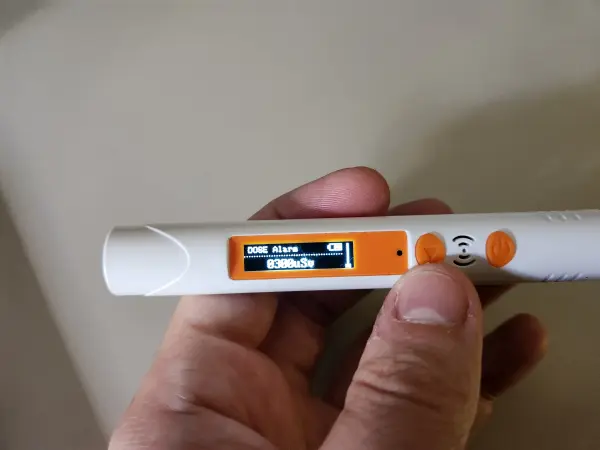
By tapping the menu button" (▼) we should get to the "Dose Alarm"
We can change it between 1-3000µSv by following the same method as before.
Done
Now the alarms should be set.
Setting the dose rate above 3 uSv/h should prevent the alarm from triggering on planes